Yes, you may indulge even on a diet. It’s healthy!
In my house, my kids seem to consider it’s their full-time job 🙂
This recipe is 4 ingredients only, healthy, and healing (gelatin heals the gut).
AND one pot.
Incredible, but true!
Shopping list :
– gelatin
– a very good honey (creamed honey gives a slightly better texture, but I’ve also done it many times with liquid honey, it works all the same, as long as the honey is good quality)
– salt
– 2 drops of food-grade tangerine essential oil (yellow or red tangerine both work – I buy mine in France, I’ve known and used this website for 18 years now. Their essential oils are very high quality – I’m not sponsored to recommend them, but you know how happy I am to recommend good companies and products!).
– cooking thermometer, unless you own a cooking stand mixer (my second BFF after my Vitamix!!!! 12 years old, working everyday, and it’s still there, loyal and reliable – not a single strike in 12 years, can you believe it ? 😉 ).
– and of course, as always, and even more specifically with confectionery or pastry…. a digital scale – to get the best result (and less dishes!).
If you don’t have tangerine essential oil, you may skip it, and substitute 1 tbsp vanilla. The marshmallow will also taste good. But very different :-).
The tangerine really, really brings it to the next level.
It would probably work to add tangerine, clementine, orange or lemon zests, if you don’t mind the tiny bits in the marshmallow. I haven’t tried though. I’m using lemon, orange and tangerine essential oils, alternatively.
Let me know if you do try with zests!
You may also use food-grade peppermint oil. It’s beautiful. But use only 1 drop for 250g water.
I detailed the process after the recipe card.

Sugar-Free Healthy Marshmallows (no kidding !)
Equipment
- 1 cooking thermometer
Ingredients
- 250 g cold water
- 23 g gelatin powder
- 300 g creamed honey (liquid honey will also work, texture will be slightly softer)
- 2 drops food-grade tangerine essential oil (or 1 drop peppermint, lemon, or orange extract)
- 1 tbsp vanilla (optional – don't skip if you don't have the tangerine)
- 1 pinch salt
- Arrowroot powder, corn starch, or tapioca starch, for dusting (optional)
Instructions
- Put a large pot on your scale (initial volume will triple).Weight 250g of water directly in the pot. Sprinkle 23g gelatin (weighting it at the same time). While it's blooming, weight 300g of honey (directly into the water and gelatin).
- And if you'd like to prep and weight everything separately, that also works!
- Put the pot on medium heat and give it a regular stir until it reaches 115°C (stir is just not to let it burn at the bottom). This temperature is crucial to get the marshmallow texture.
- Turn off the heat, remove the thermometer, and whisk on high speed until the mixture is white, thick and glossy (and much colder). Add the essential oil, or vanilla extract, whenever you want during this process, after the temperature of the mixture has dropped to 65°C or below (or you'll burn the oil and lose flavor).
- When you stop whisking, it’s going to set very quickly, so pour it on a parchment paper in a 20 cm shallow dish (or double the recipe and use a regular sheet pan).
- Pour it in a 2.5 / 3 cm thick layer, not more. These marshmallows are to be eaten in large pieces if you like, but keep the thickness on the lower side – they're melting-in-your-mouth marshmallows, not firm.
- About parchment paper….. You know how the parchment paper never stays in place? The trick is to add a drop of oil in each corner to help the parchment paper stay in place until you've poured the marshmallow (works for every type of preparation – just a small drop, you don't need/want the paper to become greasy.)
- Wait until it’s cold, and store in the fridge overnight. No need to cover it unless you’re planning to leave it for more than 48h in the fridge.
- SCD: you don't need to add any starch of any kind to enjoy this marshmallow, it will be a little sticky, but with a knife heated under hot water, you can cut it and enjoy. We did that for years 🙂
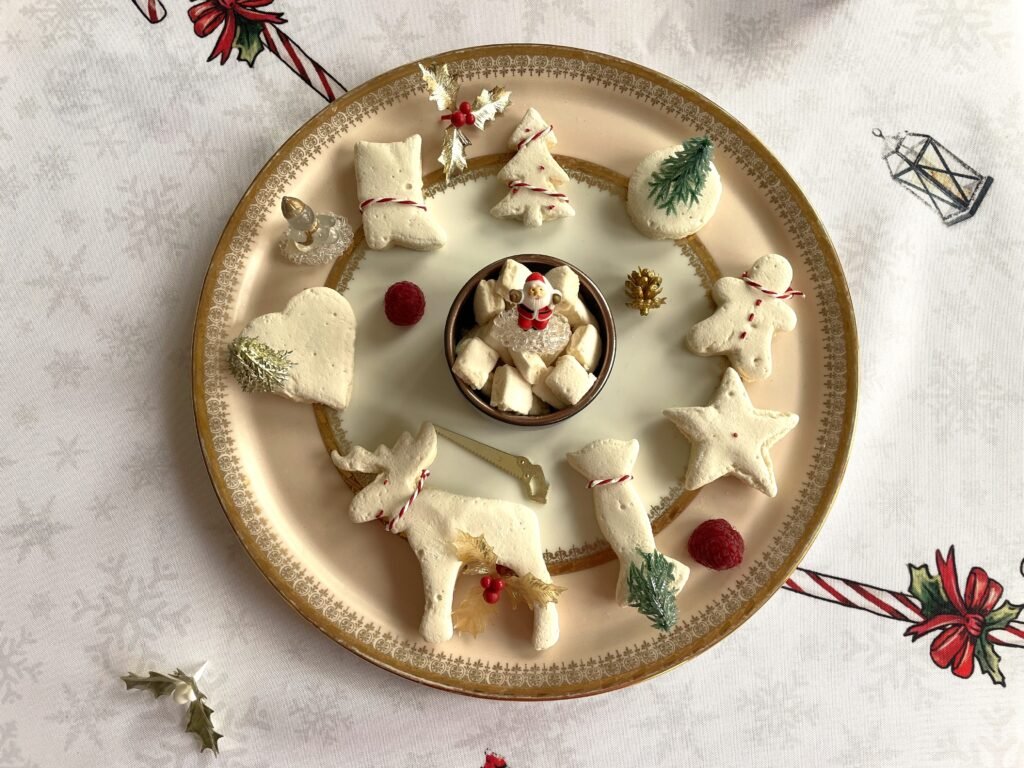
- Non-SCD: On the next day, you may cut it with cookie cutters. To ease the process, first, dust the surface of the marshmallow with a teaspoon of arrowroot powder (or tapioca).
- Flip the dough on a cutting board, remove the parchment paper slowly, and dust the second side. Cut 🙂
- You can keep it on the counter (watch out, it has a tendancy to vanish !), or in the fridge in a air-tight container. In the fridge, it can last for months, thanks to the honey (which is an anti-bacterial agent).
- Enjoy 🙂
Notes
Now let the magic happen!
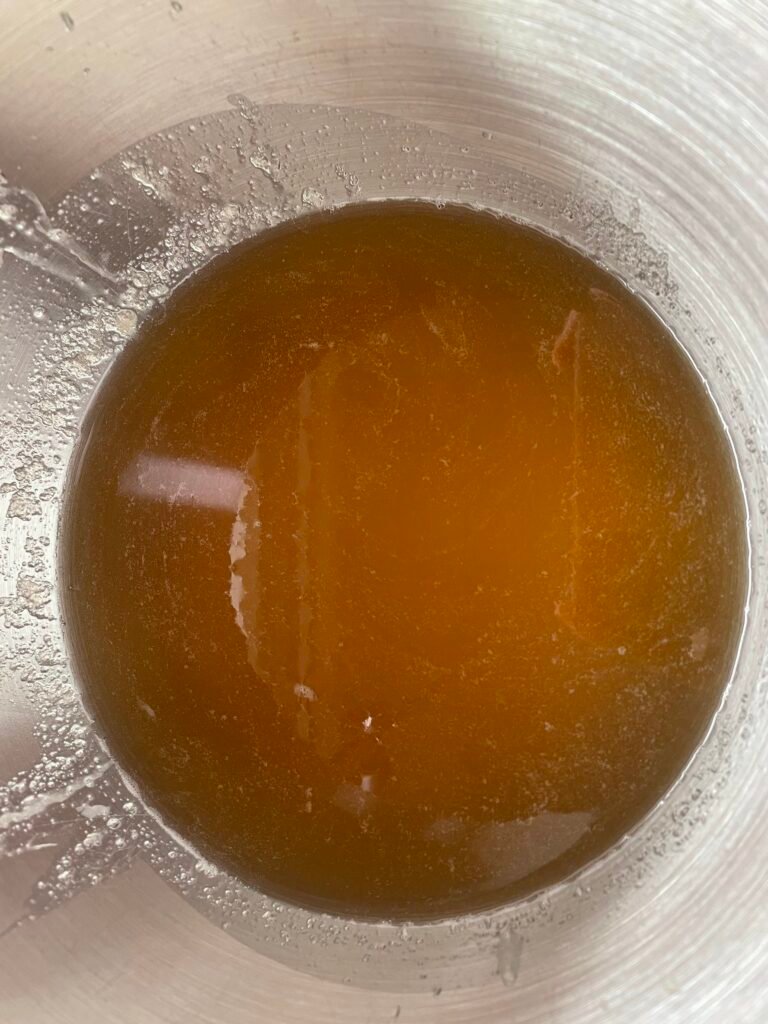
You’re going to put a large pot on your scale. Large because at the end, the volume will have tripled.
Then weight 250g of water directly in the pot. Sprinkle 19 to 23g of gelatin (weighting it at the same time – see recipe card). While it’s blooming, weight 300g of honey (directly into the water and gelatin).
If you’re afraid of pouring directly from the jar, use a tablespoon :-). Don’t worry, after a dozen times you won’t need the spoon anymore lol…..
And if you’d like to prep and weight everything separately, that also works! (But not for me – with 4 kids who eats 6 times a day, I have too many dishes).
Put the pot on medium heat and give it a regular stir until it reaches 115°C (stir is just not to let it burn at the bottom). This temperature is crucial to get the marshmallow texture.
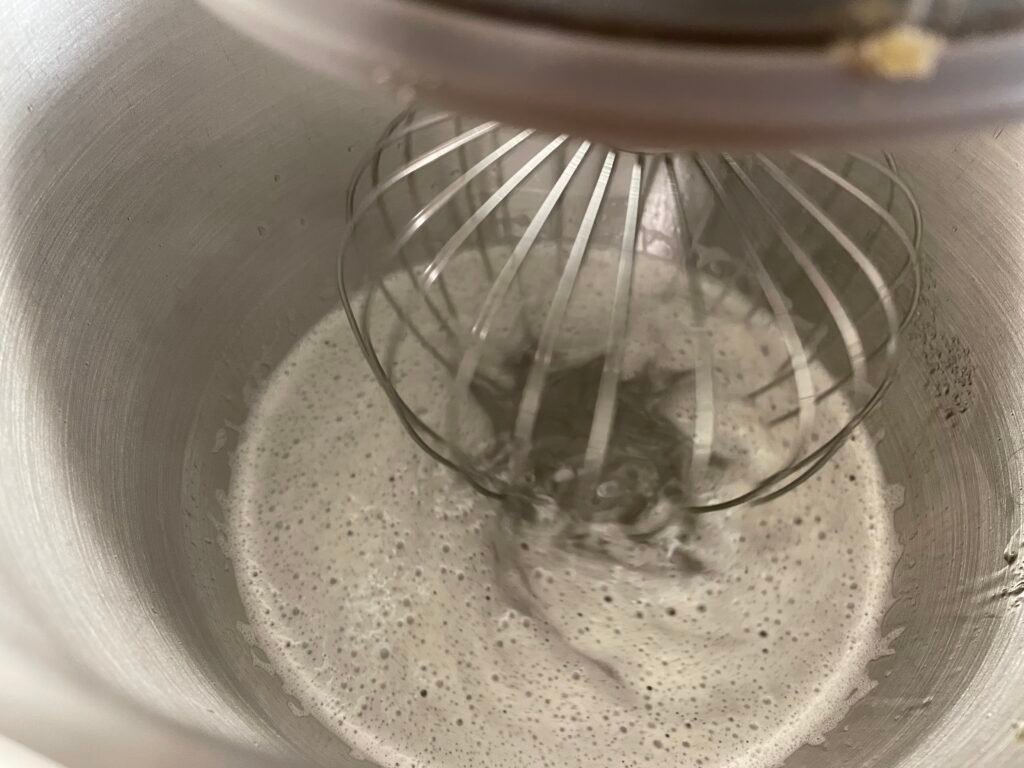
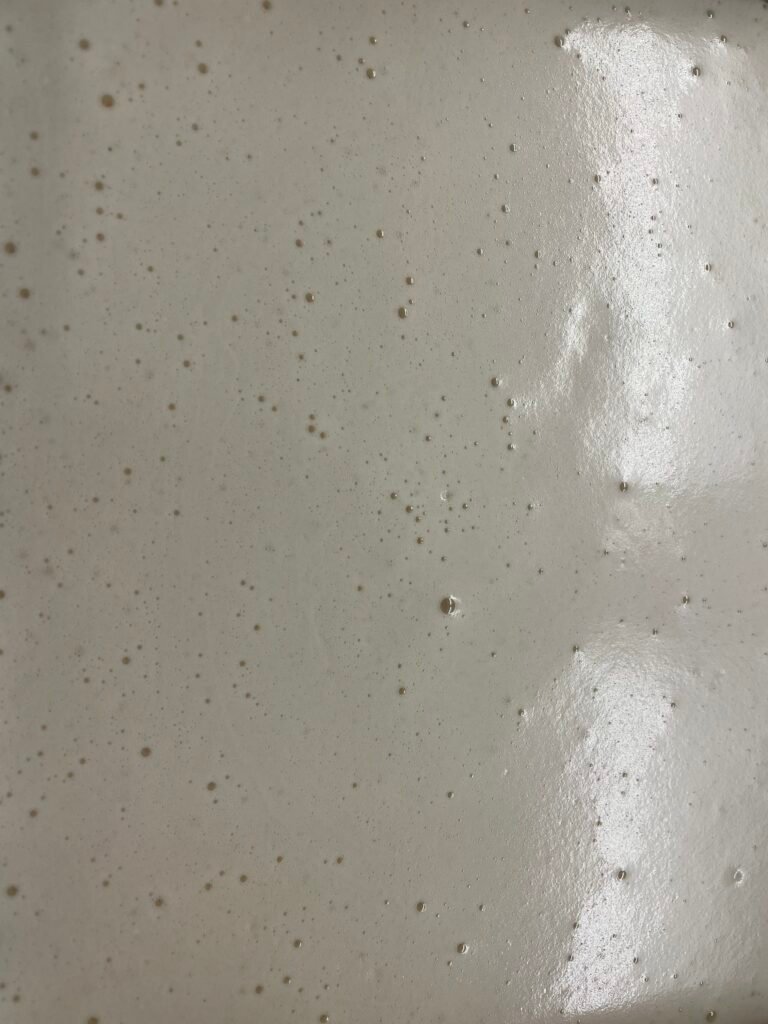
Turn off the heat, remove the thermometer, and start to whisk, increasing speed gradually, until the mixture is white, thick and glossy. Add the essential oil, or vanilla extract, whenever you want during this process, after the temperature of the mixture has dropped to 65°C or below (or you’ll burn the oil and lose flavor).

When you stop whisking it’s going to set very quickly, so pour it on a parchment paper in a 20 cm shallow dish (or double the recipe and use a regular sheet pan – that’s what I do).
Pour it in a 2.5 / 3 cm thick layer, not more. These marshmallows are to be eaten in large pieces if you like, but keep the thickness on the lower side.
About parchment paper….. You know how the parchment paper never stays in place ? The trick is to add a drop of oil in each corner to help the parchment paper stay in place until you’ve poured the marshmallow (works for every type of preparation – just a small drop, you don’t need/want the paper to become greasy.)
Wait until it’s cold, and store in the fridge overnight. No need to cover it unless you’re planning to leave it for more than 3 days in the fridge.
SCD: on the next day, you may proceed with cutting in squares. You don’t need to add any starch to enjoy these marshmallows. It will be a little sticky, but with a knife heated in/under hot water, you can cut it and enjoy. We did that for years 🙂
Non-SCD: On the next day, you may cut it with cookie cutters. To ease the process, first, dust the surface of the marshmallow with a teaspoon of arrowroot powder (or tapioca).
Flip the dough on a cutting board, remove the parchment paper slowly, and dust the second side. Cut 🙂
You can keep it on the counter (watch out, it has a tendancy to vanish !), or in the fridge in a air-tight container. In the fridge, it can last for months, thanks to the honey (anti-bacterial agent).
Enjoy 🙂
Join Cooking Evolution community and get ready to immerse yourself in a culinary adventure like never before!