Making yogurt with regular milk or cream is pretty easy. If you choose carefully the strains, and let it ferment for 24h, it’s also very good for your gut.
Elaine Gottschall recommends it in her book about the SCD.
But what if… you can’t do dairy ??
You can make dairy-free yogurt as well ! It just requires a couple more steps and ingredients, if you want to achieve the perfect creamy texture.
- If you want it rich and creamy, use 1/3 coconut cream, 2/3 full fat coconut milk (not lite) – up to 50% coconut cream… and even 100 % 😉
- If you like it on the thinner side, use only full fat coconut milk.
- You’ll need to add a bit of gelatin to help it set.
- You’ll need a tiny amount of honey to feed the bacterias : in regular yogurt, they feast on the lactose and multiply. Coconut milk doesn’t contain lactose, so, to feed them, you’ll add a little honey instead. You can definitely add more if you like sweet yogurt. I keep it as plain as possible to use it in savory dishes, like my favorite butterless butter chicken.
- As for regular yogurt, you need yogurt starter : acidophilus and a blend for balkan yogurt (streptococus thermophilus and lactobacillus bulgaricus). These three stains are recommended for the gut, and they also give a greek-y yogurt taste.
- And a yogurt maker.
You’re all set !

Best dairy-free homemade Yogurt (SCD compliant)
Servings: 1.2 L
Equipment
- 1 yogurt machine
Ingredients
- 400 ml full fat coconut milk (no additives)
- 800 ml coconut cream (no additives)
- 1 package acidophilus strain
- 1 package balkan yogurt starter (lactobacillus bulgaricus and streptococcus thermophilus – avoid Bifidus)
- 4 tsp gelatin
- 1 tbsp honey
Instructions
- Pour the gelatin in about 180g water. Let it bloom.
- Heat the coconut milk and coconut cream in a pot on medium heat. Once it reaches 85°C, turn off the heat. Add the gelatin and honey and whisk until both have dissolved.Let it cool to 42-43°C (a higher temperature would burn the probiotics).
- Pour about 200 ml of coconut mixture in a small bowl. Add the starter and whisk well. Pour it back into the pot and mix again.
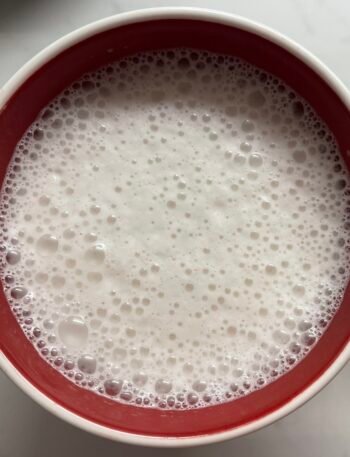
- Pour the mixture into the yogurt maker – I use a large shallow bowl instead of many various small jars. See next steps to understand why :-).Set it on 9h – main difference with regular dairy yogurt which has to cook for 24h, allowing the bacterias to eat all the lactose. For coconut yogurt, there's no lactose. More than 9h gives a sour yogurt and I don't recommend it.
- Once yogurt is done, it's liquid and will separate soon. Store in the fridge overnight.
- On the next day, pour the yogurt (all set, but you'll see two layers) in your blender. That's when the large bowl is faster and also saves a lot of dishes 🙂Mix on high for one minute, until the yogurt is creamy and homogeneous.Pour it back into the large bowl, cover and store in the fridge for up to 3 weeks.
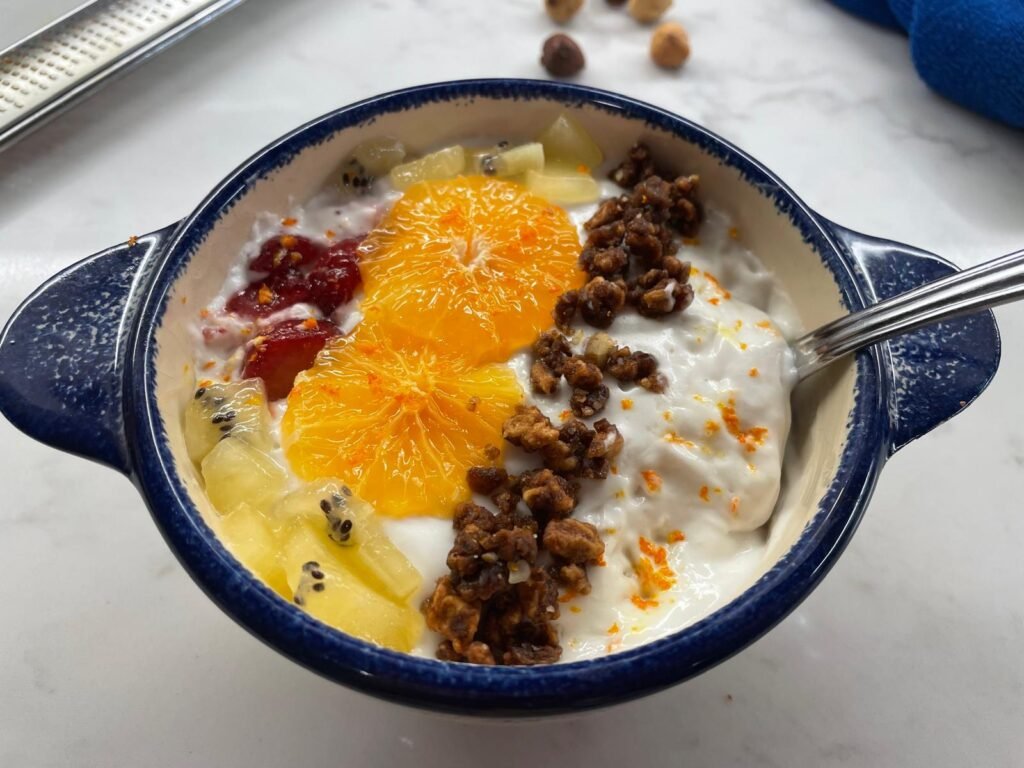
- Top it with fresh fruits, homemade grain-free granola (recipe to be posted soon), freshly roasted almonds and hazelnuts…. Twist it with sugar-free raspberry jam (recipe to be posted soon), or enjoy it with just a drizzle of honey !
Notes
Copyright 2024 © Cooking Evolution
Join Cooking Evolution community and get ready to immerse yourself in a culinary adventure like never before!